Choose the right workspace type when using Team Foundation Server and Eclipse
Microsoft has a nice TFS Eclipse plugin that acts like any other Eclipse team provider. It provides full TFS Source Control and Team view support inside of Eclipse. You can find information about the plugin on the the Microsoft MSDN site.
Team Foundation Server supports TFS version control (TFS) projects and GIT version control (TFS) projects. TFS uses the concept of a workspace to track changes. A TFS Project Workspace can be managed as either a "Server Workspace" or "Local Workspace". There are several good articles that describe how this works phkelly's blog and MSDN documentation.


Team Foundation Server supports TFS version control (TFS) projects and GIT version control (TFS) projects. TFS uses the concept of a workspace to track changes. A TFS Project Workspace can be managed as either a "Server Workspace" or "Local Workspace". There are several good articles that describe how this works phkelly's blog and MSDN documentation.
- Server Workspace: These were the default for all workspaces created prior to TFS 2012. Server Workspace follows an older convention where all files on the local machine are marked as "Read Only" until checked out for modification. This means you cannot edit files outside of TFS or Eclipse unless they have already been checked out for modification.
- Server workspaces operate more like Clearcase or Visual Source Safe
- Local Workspace: These are the default for all workspaces created in TFS 2012 or later. Local Workspace uses a workspace scanner to identify file changes and automatically adds them to the list of modified files. This means you can edit files outside of TFS or Eclipse with editors or scripts like maven.
- Local workspaces operate more like CVS, SVN or Perforce.
Eclipse users that rely on Maven (mvn) or customized tooling that modify programs external to an IDE should use "Local Workspaces". This includes customized eclipse versions like the Mule ESB IDE, Mulesoft Anypoint Studio, which integrates with the maven build process.
Setting the Workspace Type for Existing Workspaces
You can see and change the workspace type in TFS by editing the workspace settings in Visual Studio or using the TFS Eclipse plugin.
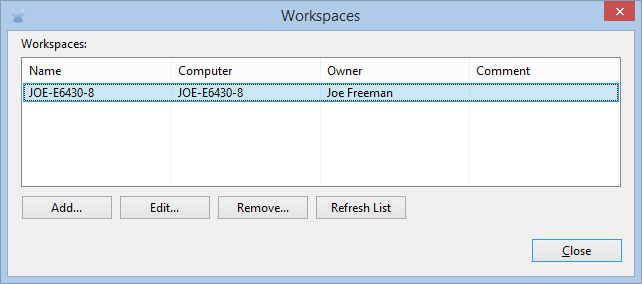
Finding the "Manage Workspace" Panel In Visual Studio
- Open your Team Explorer in Visual Studio
- Open the solutions drop down. It will be empty if you have never opened any solutions
- Select the drop down next to the workspace name.
- Select "Manage Workspaces..." to bring up the "Manage Workspaces" panel
- Select the workspace and "Edit..."

Finding the "Manage Workspace" Panel in Eclipse
- Open the Package Explorer View
- Right click on your project
- Select Team --> Manage Project
- Select the workspace for this machine and then "Edit..."
Then in both VS and Eclipse
- Select the "Advance>>" button at the bottom
- Set the "Location" to "Local" if it is currently set to "Server"Click "OK"
- The TFS plugin will immediately start converting your workspace to "Local" if it was "Server" prior to this.
You should be able to edit files at will both using the IDEs and external tools like Notepad++ or Maven. The scanner will also pick up autogenerated files so you may have to update your .tfsignore file.


Comments
Post a Comment